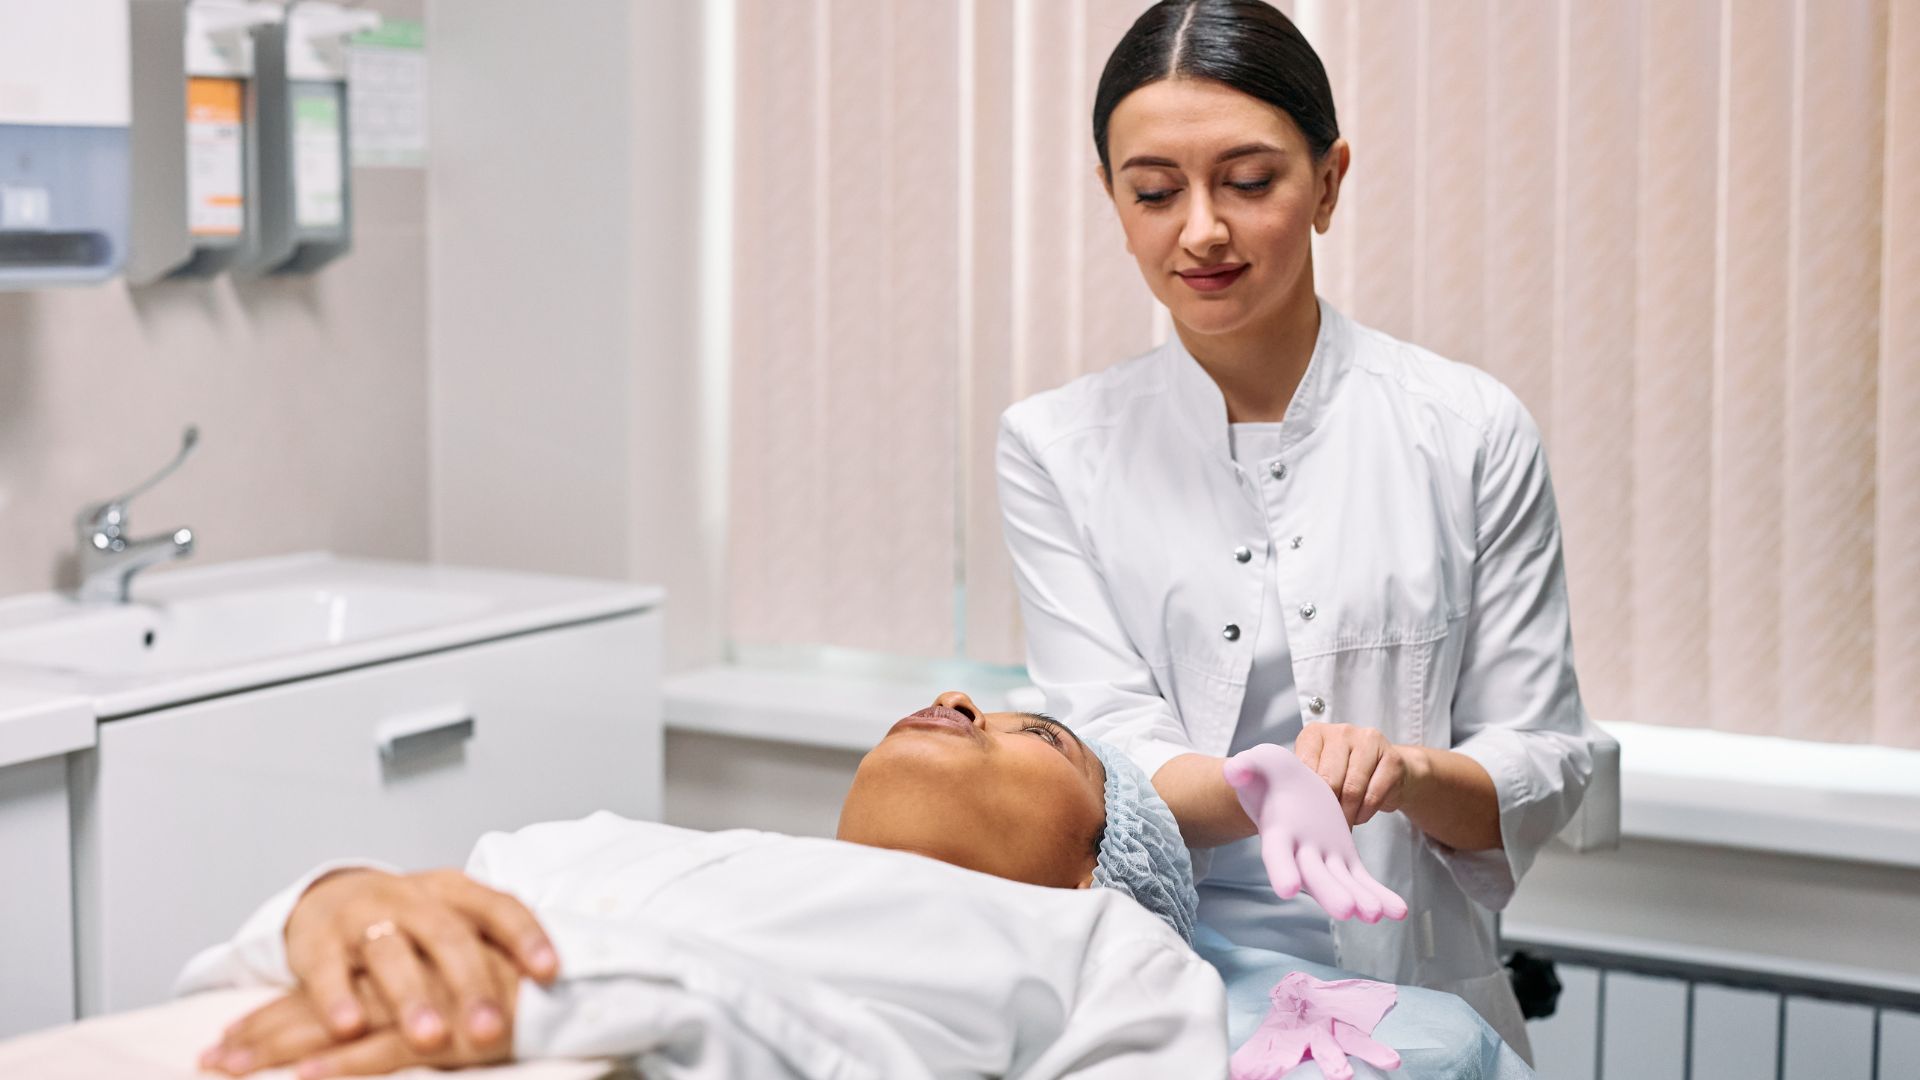

What are the methods of examination of the skin?
The skin is the largest organ of the body, and it can reveal a lot about our general health. Whether a tiny rash, an odd mole, or just dry skin, doctors have a whole range of tools and techniques for examining the skin properly. Let’s learn these techniques in a simple, easy-to-understand way and (yes!) even a bit of fun.
1. Inspection: The Power of Looking
The first thing doctors do when they’re examining the skin is take a close look.
Sounds easy, but inspection is not just getting a quick glance. It’s close looking with only the eyes (and sometimes a magnifying glass).
In checking, doctors observe:
- Color: Is normal-colored skin, redness, paleness, blueness, or yellowness?
- Shape and Size: Are there round spots, irregular patches, or straight lines?
- Surface: Is the skin dry, scaly, cracked, or smooth?
- Distribution: Are the changes localized or generalized over the body?
They’ll also check for moles, rashes, bruising, swelling, and abnormal textures. Lighting is crucial, so doctors may use special lights or even a flashlight to get the best possible look.
2. Palpation: The Touch
After looking comes touching—or palpation.
Doctors use their fingers to feel the skin for:
- Temperature: Is the skin hot or cold to the touch?
- Texture: Is it hard, bumpy, leathery, or smooth?
- Thickness: Are areas thickened or thinned?
- Tenderness: Does it hurt when touched?
- Elasticity: Does the skin spring back when lightly pinched?
Palpation gives important clues that can’t always be seen, like feeling a lump under the skin or knowing whether an area is puffy with fluid.
3. Diascopy: The Glass Slide Trick
This method is fancy-sounding, but it’s actually easy. In diascopy, the doctor places a transparent glass slide or other clear object on the skin.
Why?
To see if redness resolves with pressure.
- If it does, the redness is from blood vessels (like in inflammation).
- If it persists, it might be from something like a bruise or bleeding under the skin.
It’s a super fast, painless way to know what’s going on underneath the skin.
4. Wood’s Lamp Test: Glow in the Light
All skin problems are not visible to the naked eye. That is when the Wood’s lamp saves the day.
The characteristic ultraviolet (UV) light is utilized by doctors to determine skin infections, color changes in the skin, and other hidden issues. When placed under the Wood’s lamp:
- Fungal infections become blue or brilliant green.
- Certain bacterial infections become coral pink.
- Certain pigment conditions such as vitiligo become much easier to detect.
It’s a bit like detective work—in the dark!
5. Dermoscopy: Up Close and Personal
Imagine examining your skin using a mini-microscope. That’s really what dermoscopy does.
Doctors employ a hand-held device called a dermoscope to magnify the skin and shine light on it. In this manner, they are able to inspect moles, freckles, or unusual growths much more closely.
- Are the borders of a mole smooth or notched?
- Are the colors uniform or mixed?
- Are there suspicious patterns?
Dermoscopy is an excellent method for detecting early signs of skin cancer without having to open up the skin.
6. Skin Biopsy: Little Sample, Big Answers
If a visual examination isn’t enough, a skin biopsy is next in line.
Through a biopsy, the doctor removes a little bit of skin with local anesthesia (numbing it).
That little bit of skin is analyzed in a lab by experts under a microscope.
A biopsy can diagnose:
- Skin cancer
- Infections
- Autoimmune disorders
- Inflammatory disorders
Don’t worry — it’s typically fast, and healing is fast with good care.
7. Patch Testing: Tracking Allergies
Got a mysterious rash that will not clear up? It may be an allergy.
Patch testing determines what it is.
This is how it is done:
- Tiny patches with various substances (such as perfumes, metals, or chemicals) are taped onto your back.
- You keep them on for 48 hours.
- The doctor checks to see if any patch turns red, itchy, or swollen.
Patch testing can uncover allergies you didn’t even know you had!
8. Scraping and Smear Tests: Microscopic Detective Work
Doctors sometimes need an even closer look.
They gently scrape the surface of your skin to collect a little bit of material, which they then examine in a microscope.
Scraping finds:
- Fungal infections like ringworm
- Bacterial infections
- Parasites like scabies
The scraping is usually more ticklish than painful and can provide immediate answers.
Summary: Putting It All Together
Skin examination is a bit like being a detective — each method yields a new clue!
Here’s a brief summary of the major techniques:
- Inspection: Observing carefully
- Palpation: Feeling with hands
- Diascopy: Pressing glass to observe color change
- Wood’s Lamp: Inspection under UV light
- Dermoscopy: Magnification of skin
- Biopsy: Laboratory testing of a skin sample
- Patch Testing: Allergy identification
- Scraping Tests: Infection and parasite testing
By using these techniques together, doctors can accurately diagnose skin problems and start the right treatments.
Last Thoughts
Skin tells you—occasionally in a rash, a mark, or a variation you hardly knew existed. Knowing how doctors examine the skin can make the whole process less intimidating and so much more intriguing.
So the next time you visit your dermatologist for regular skin examinations, you’ll know what’s happening and why. And who knows? You might even feel like you’re part of the detective team solving the mystery of your skin!

